
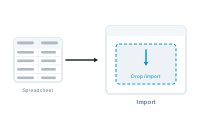
Bringing your data in is the first real step of a merge. A few minutes of prep, then DataMergeStudio reads your file and is ready to map.
A little tidying saves trouble later:
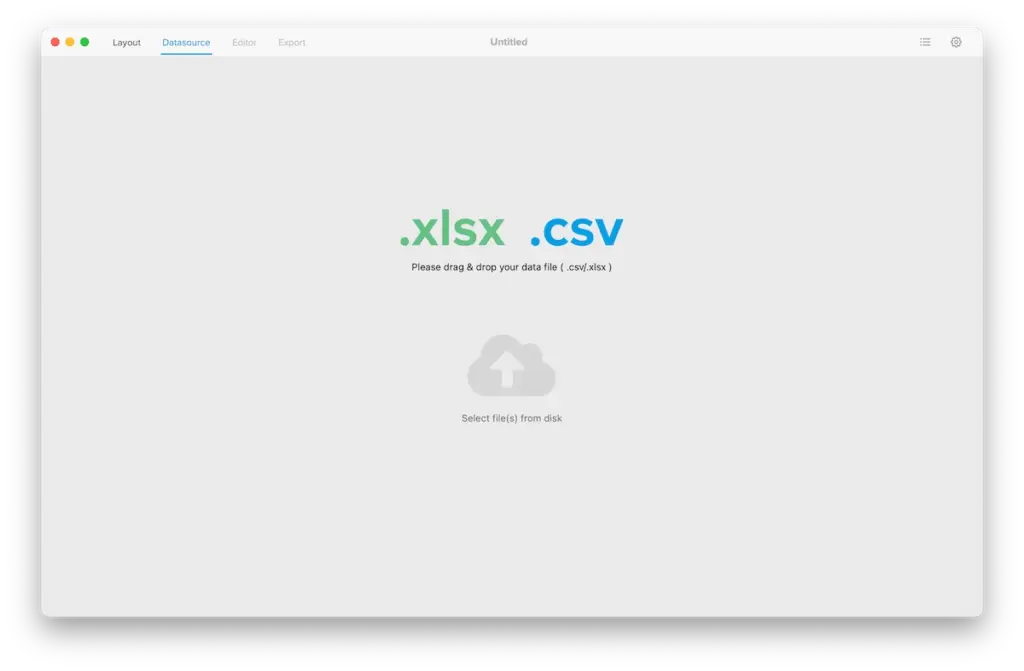
If your project doesn’t have a datasource yet, open the Datasource menu and add one – either drag your file onto DataMergeStudio or pick it with the file chooser.
For a CSV, set the separator and encoding in the import settings so the columns split correctly.
📷 Screenshot [NEU]: the CSV import settings (separator and encoding)
For an Excel file (.xlsx), choose which sheets to import. If you pick more than one, also choose which is the master sheet – the others attach to it as data groups (see Step 4). You can also adjust the number of records imported per sheet, though you’ll normally leave that as is, since you usually want them all.
📷 Screenshot [NEU]: the Excel import settings (sheet selection, master sheet, and records per sheet)
DataMergeStudio reads the file and shows the sheets and columns it found:
📷 Screenshot [NEU]: the imported sheets and columns
If a cell holds several lines – an address, a short list of features – DataMergeStudio keeps those line breaks intact on import, for both Excel and CSV. A multi-line cell flows into your layout as multiple lines instead of collapsing into one.
If your data changes later, you don’t start over – reload the datasource and your mapping stays intact (see Reloading a datasource without losing your mapping).
Learn how DataMergeStudio organizes your data: What is a sheet?