
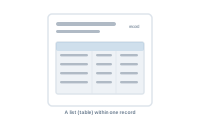
You want a record to show a list of related rows – a product with its spec rows, an invoice with its line items. A data group links a second sheet to your main records, and a table repeats one content row for every related row.
In the Datasource area, create a data group: give it a name, choose your master sheet and your secondary sheet, and pick the common key column that links them.
📷 Screenshot [NEU]: the data group with name, master sheet, secondary sheet, and key column
Insert a table into a text frame. It needs:
Optionally, give the table a script label so it’s easy to identify when you have several tables: select the whole table (move the cursor to its top-left corner until the diagonal arrow appears, then click to select the entire table) and open Window → Helpers → Script Label to name it.
📷 Screenshot [NEU]: the table with one content row of placeholders (header/footer optional)
In the Editor, add the Data Group node and select the data group you just created. Connect it to the Table central node, which is always present. The Table central node has a data group input socket plus one input socket per placeholder in your content row – wire each placeholder to its column through the data group.
📷 Screenshot [NEU]: the Data Group node (data group selected) connected to the Table central node
If a record should show only some of its related rows, add a data group filter on the Data Group node.
📷 Screenshot [NEU]: the data group filter on the Data Group node
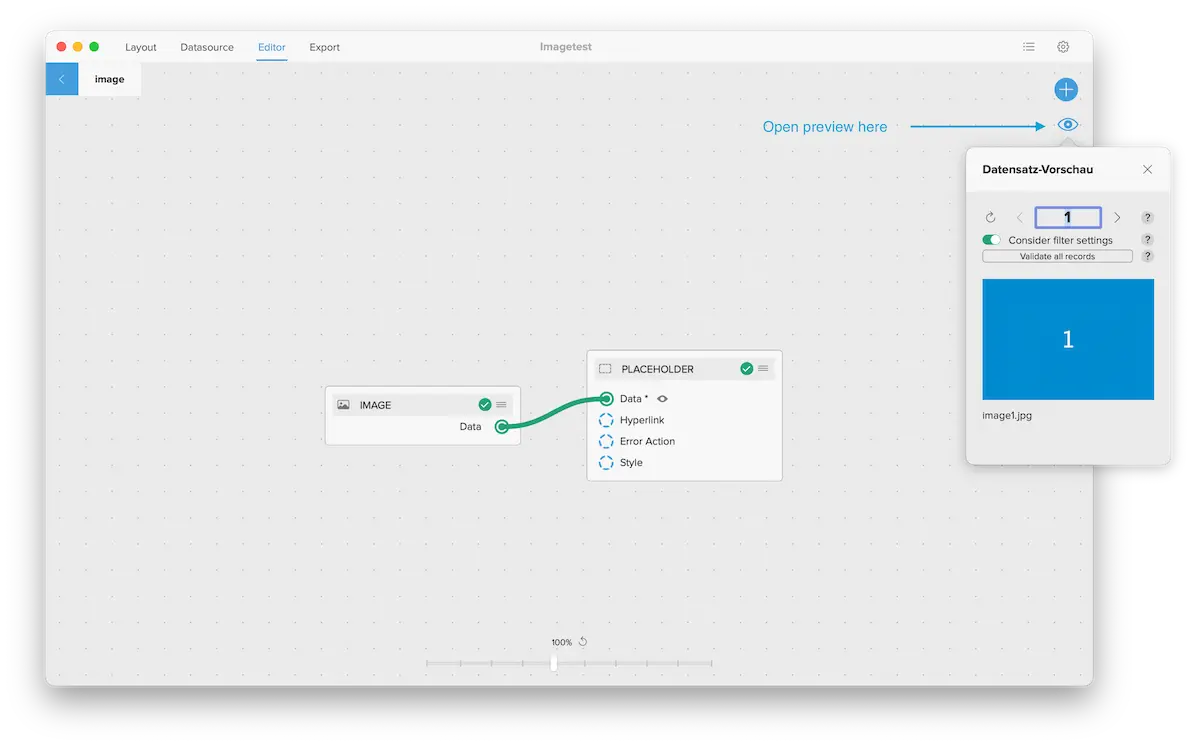
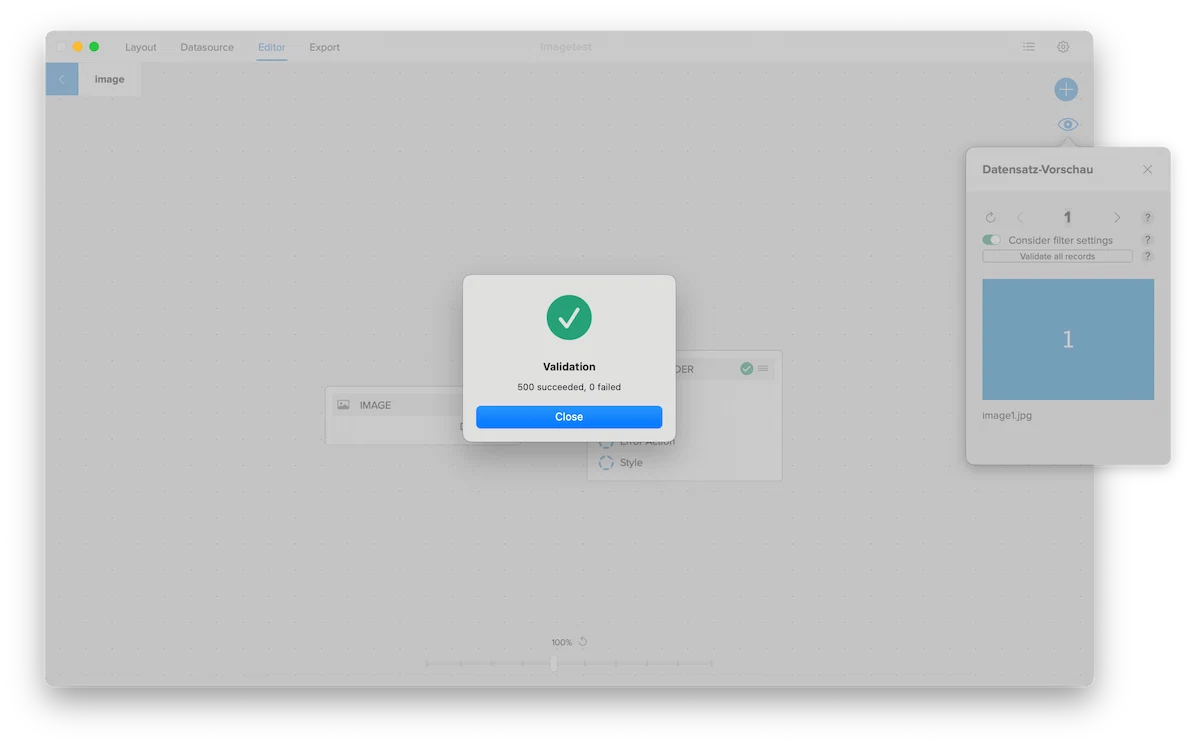
Open the Preview (the eye icon, top right) to check the result, then click Validate all records (the button in the bottom-right corner of the workspace) to check that each list fills correctly.
Each document shows its own list of related rows – a true master–detail layout.