
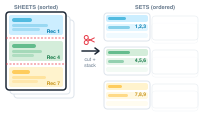
You’re printing cards or labels many-up, cutting the stack on a guillotine, and the piles need to stay in sequence afterwards. Cut & Stack arranges your records so that once the sheets are cut and the piles are stacked, each pile already reads in the right order – no manual collating.
In the Layout document, place your single card and copy it across the sheet, arranging the copies many-up. The order in which you copy and arrange the cards is the order your data flows into them – arrange left to right and records merge left to right. That ordering is what keeps every pile in sequence after the stack is cut.
📷 Screenshot [NEU]: the Layout document with the card copied and arranged across the sheet
Switch to the Editor. On your single card, add the data nodes you need (for text fields, Add node → Data → Static Text) and connect every placeholder – name, title, phone, e-mail, and so on – to its data column, exactly as in a normal merge. You only set up this one card; DataMergeStudio applies the same mapping to every copy across the imposed sheet.
📷 Screenshot [NEU]: the node editor with all of the card’s placeholders connected to their data columns
Open Export → Merge Mode and select Imposition. The Cut & Stack options appear immediately. Set records per layout, layouts per set, and sets per stack to match your sheet and your guillotine workflow.
📷 Screenshot [NEU]: the Merge Mode panel with Imposition selected and the Cut & Stack counts
Decide how the leftover records on the final, partially filled stack are handled – Full Stack, Full Set, or Fill Sheet. See Cut & Stack strategies for what each one does.
📷 Screenshot [NEU]: the last-stack strategy selector
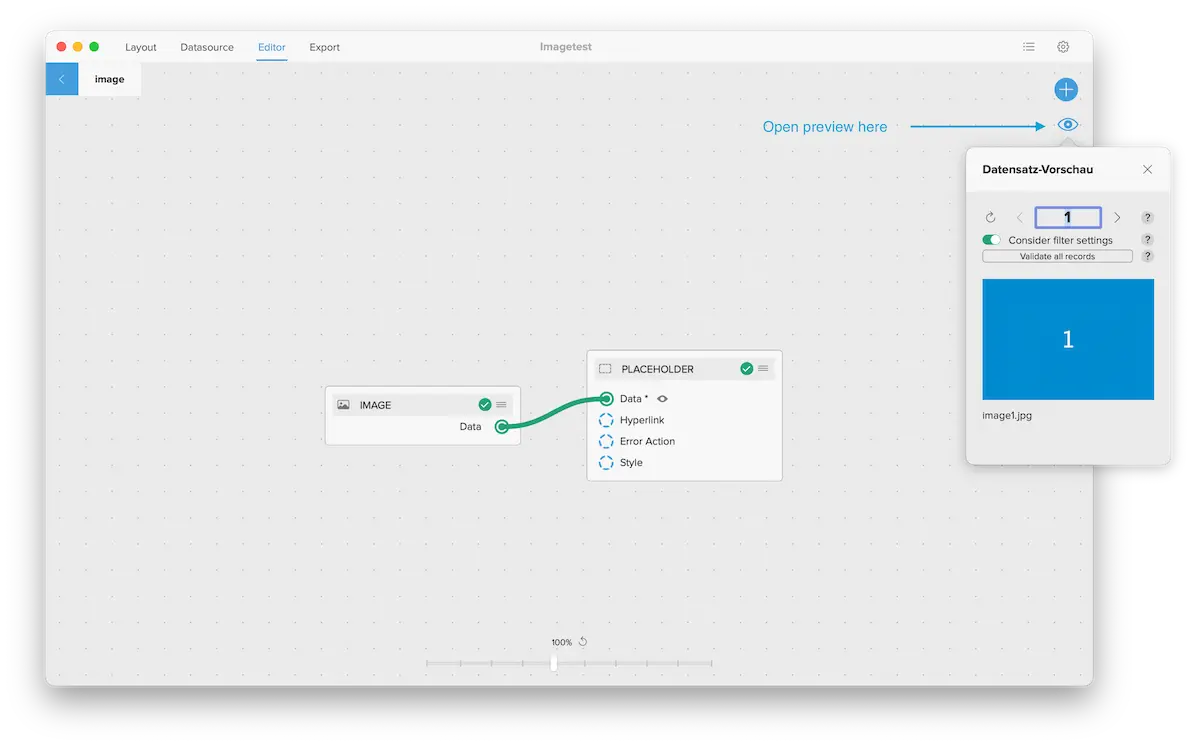
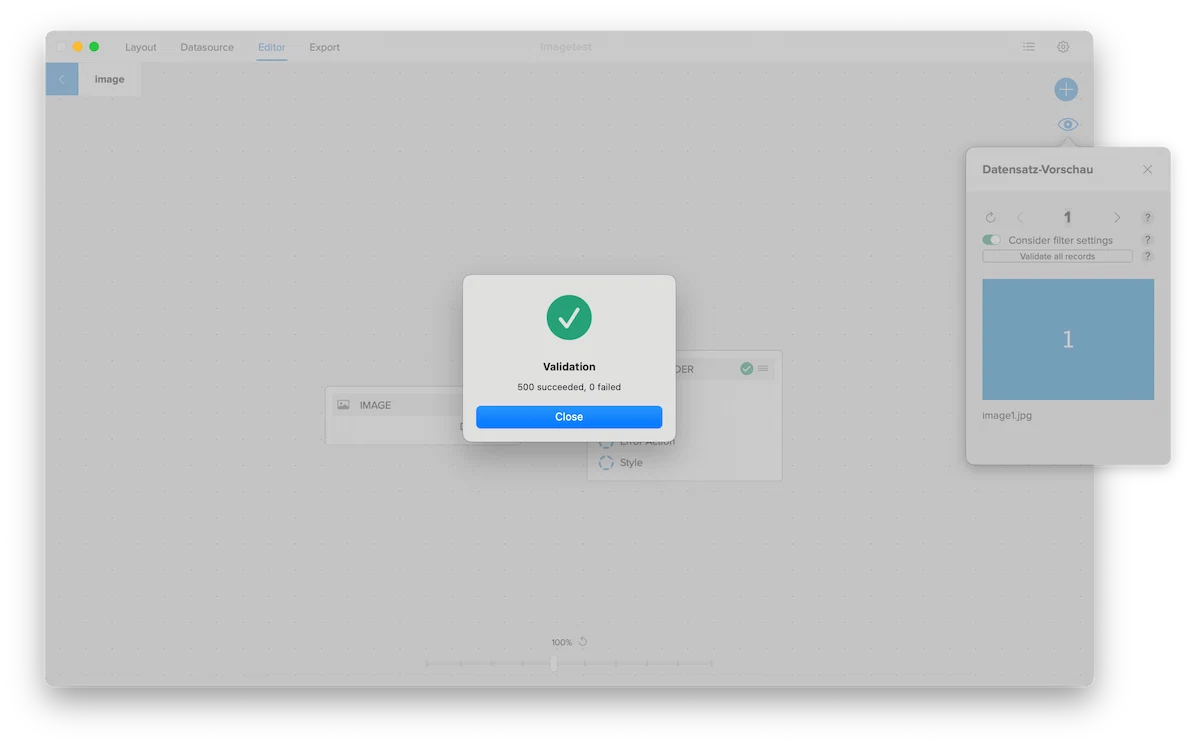
Open the Preview (the eye icon, top right) to check the result, then click Validate all records (the button in the bottom-right corner of the workspace) before committing to a large print run.
Click Validate & Export at the bottom of the Export view. DataMergeStudio produces the imposed, cut-&-stack-ordered output, ready to print.
After printing, cutting, and stacking, each pile reads in the right order – no manual collating.