
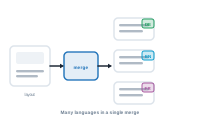
You need the same piece in more than one language – German and English, say – produced in a single merge. Variants let you keep every language in one project and export them together.
Open the Variants manager – it loads in a separate window. You can open it from a node’s variant settings widget, or from Export → Variants. Add a variant for each language and give it a name, a file suffix (de, en), a locale, and a colour. The colour is what makes variant-tagged nodes easy to spot in the editor.
📷 Screenshot [NEU]: the Variants manager with two variants (de, en)
Select a node, open its settings panel, and choose the Variant it belongs to. The default is All Variants – leave shared, language-neutral nodes (logo, layout, static elements) on that. Tag language-specific nodes – the German text, the English text – with their variant.
📷 Screenshot [NEU]: a node’s settings panel with the Variant selector
Mind the connection rules: an All Variants node can connect to anything. A node tagged Variant A can connect only to Variant A or All Variants nodes – never directly to Variant B. Keep that in mind when you wire up the language-specific branches.
Go to Export → Variants and select the variants you want to produce. Each variant exports its own files, with its suffix appended at the end of the file name.
📷 Screenshot [NEU]: the Export Variants section with the variants selected
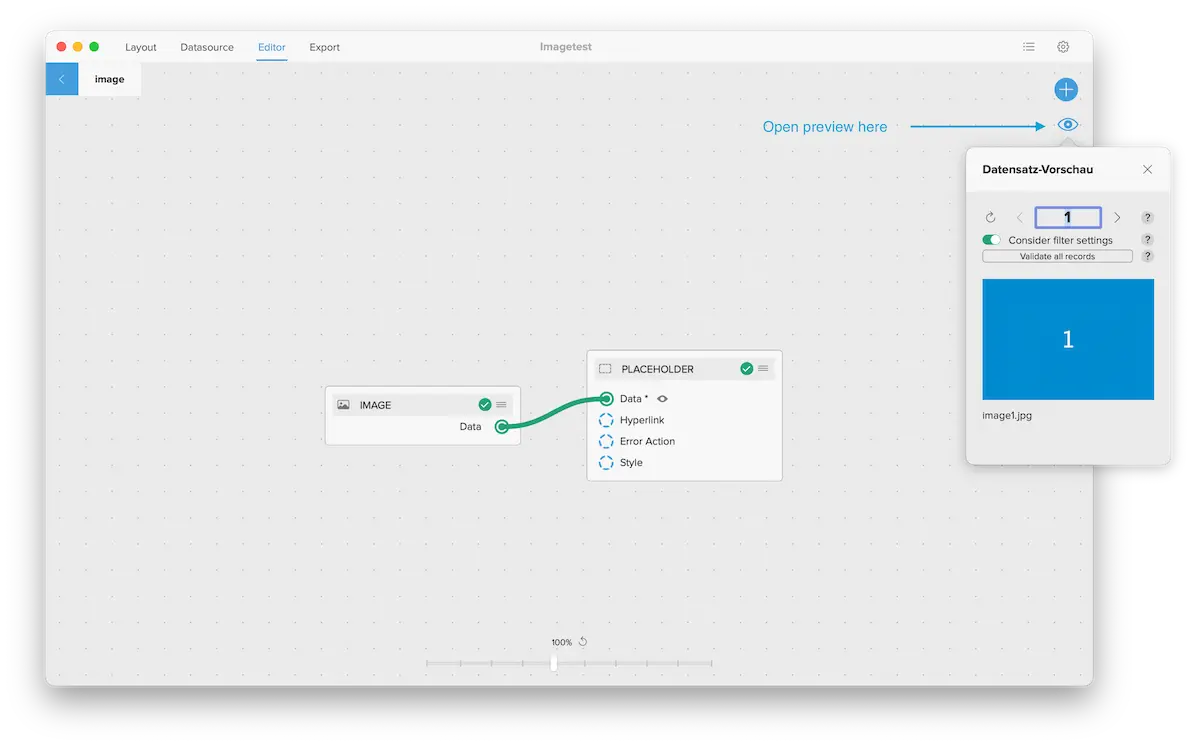
Before exporting, open the Preview (eye icon) and step through the variants to check each language renders correctly.
One run, every language – flyer_de.pdf, flyer_en.pdf – from a single project.