
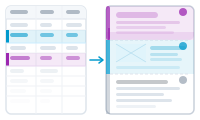
You want to show or hide InDesign layers per record – a different badge, a seasonal banner, an optional disclaimer – driven by your data.
In your InDesign document, create and test the layers you want to switch – for example a badge layer, a seasonal banner, an optional disclaimer.
📷 Screenshot [NEU]: the InDesign Layers panel with the layers you want to control
In DataMergeStudio, go to Editor → Layer visibility. This opens a workspace with a central Layer visibility node.
📷 Screenshot [NEU]: the Layer visibility workspace with the central Layer visibility node
Add a Layer node. In its Layer mode, activate one or more of the layers from your InDesign layout. Connect the Layer node’s Layer output socket to the Layer input socket of the central Layer visibility node – this transmits the selected layers.
📷 Screenshot [NEU]: a Layer node (layers selected) connected to the Layer visibility node
The Layer node also has a data input socket that works as a trigger. Connect it to a data node or a condition node: the selected layers are transmitted only when data flows through it. That’s how you decide which layers are visible for which records – for example, show a "VIP" layer only when a condition is true.
📷 Screenshot [NEU]: the Layer node’s data input connected to a data or condition node
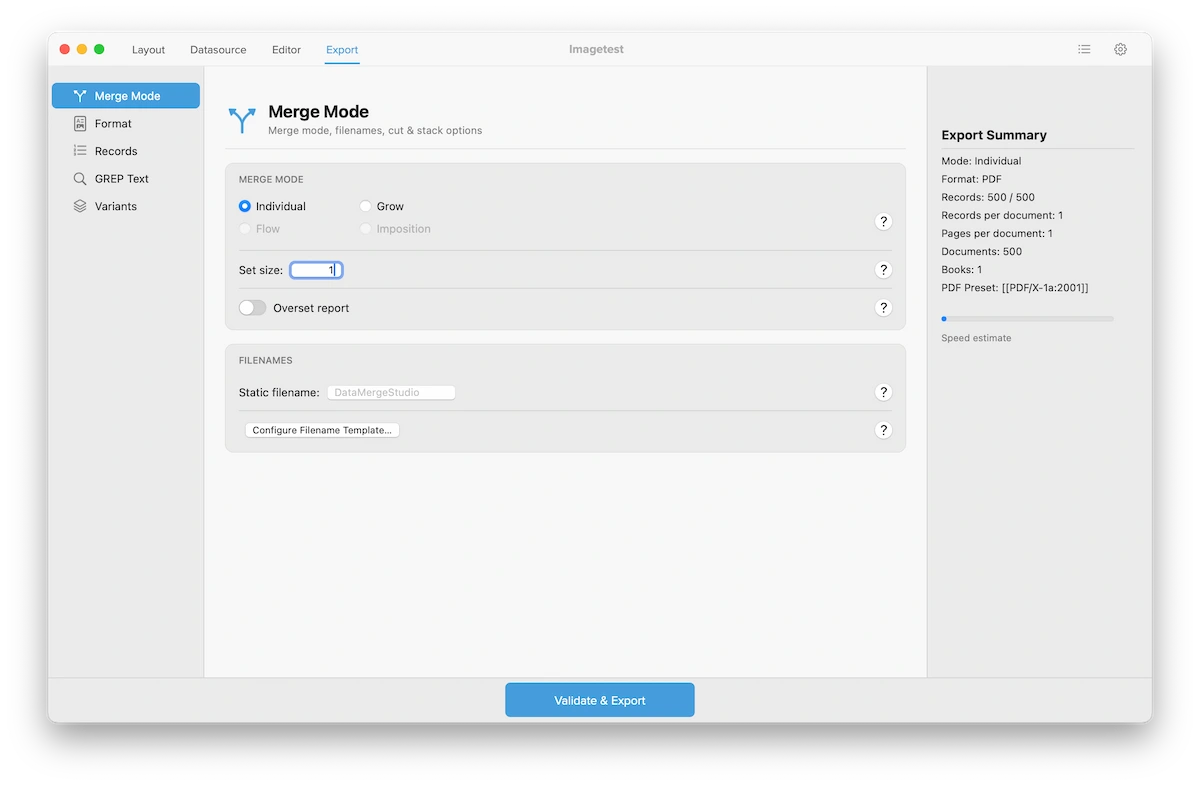
A layer setting in InDesign applies to the whole document, so layer control works only in Individual mode with Set size 1 – one document per record. Open Export → Merge Mode, select Individual, and keep Set size at 1.
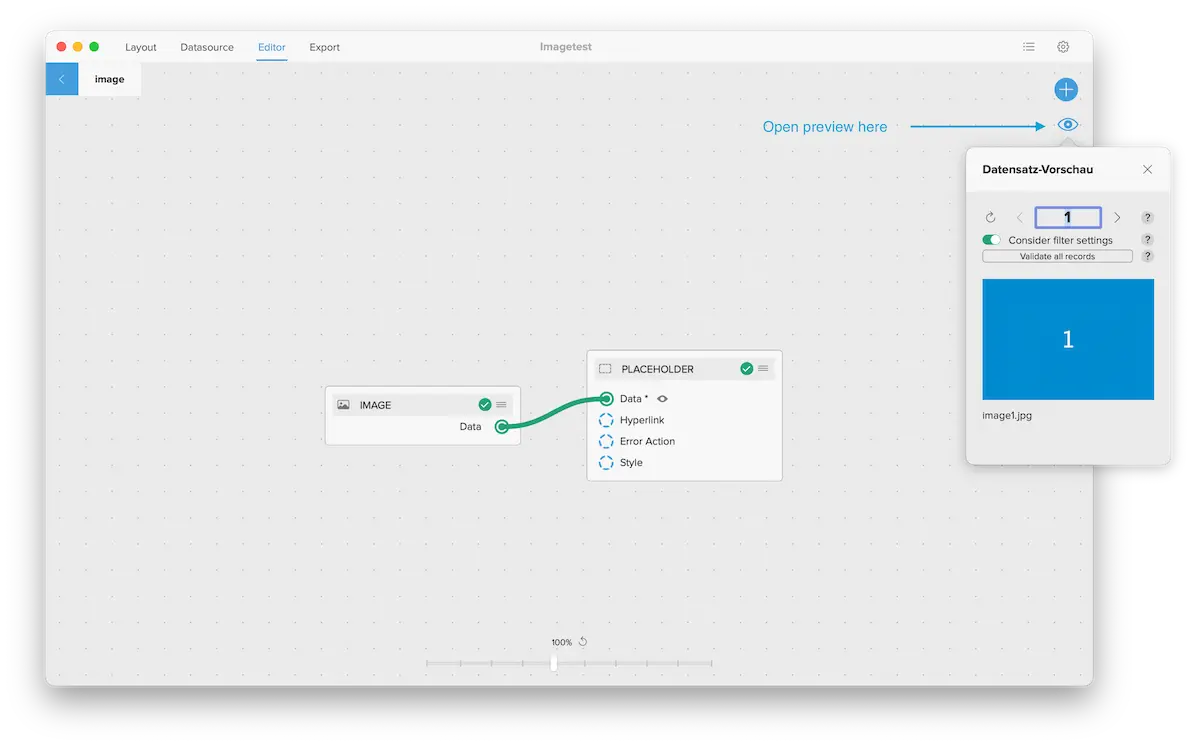
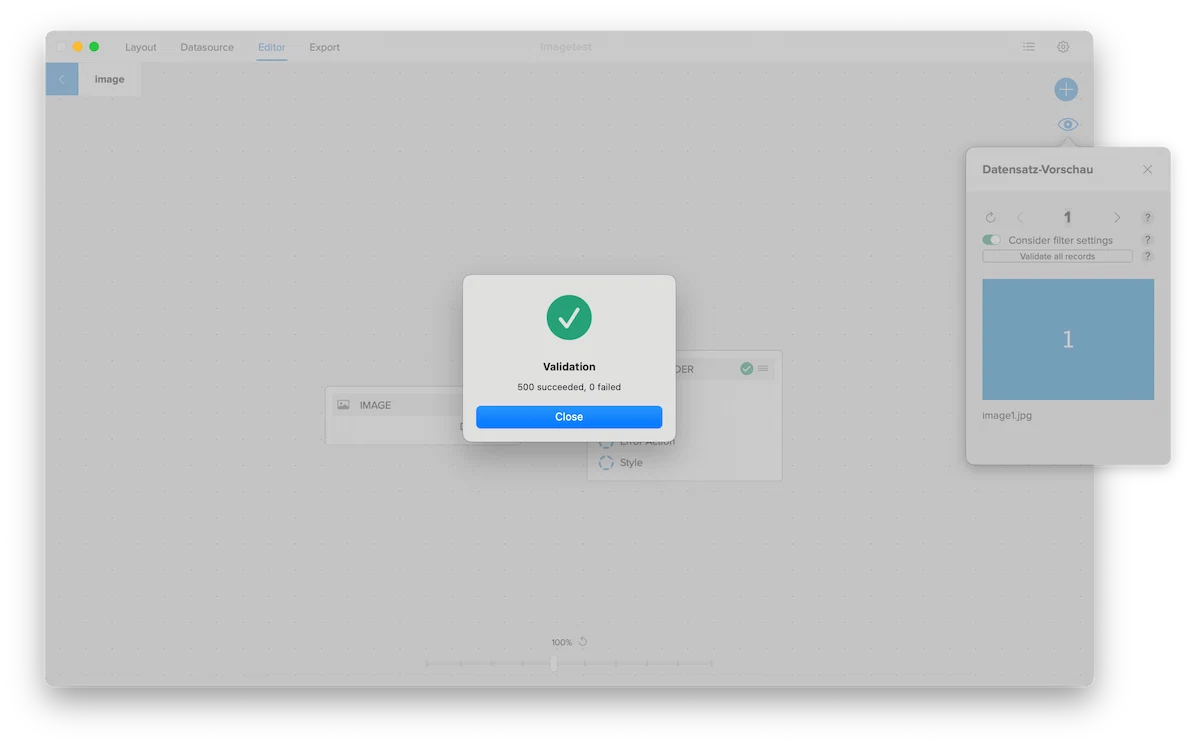
Open the Preview (the eye icon, top right) to check the result, then click Validate all records (the button in the bottom-right corner of the workspace).
The same layout adapts itself record by record, showing only the layers each one needs.