
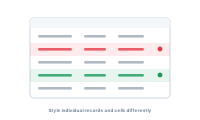
You want different records or values to look different – emphasise a price over a threshold, flag a status, give a row its own treatment. A Style node applies one of your existing InDesign styles, and a trigger makes it conditional.
In the Editor, add a Style node. In its properties, choose the scope – paragraph, character, object, or table-cell – and pick one of your existing InDesign styles.
📷 Screenshot [NEU]: the Style node with a scope and an InDesign style chosen
Connect the Style node to the Style input socket of the central node – alongside Data, Hyperlink, and Error Action. The style now applies to that element.
📷 Screenshot [NEU]: the Style node connected to the central node’s Style input
To apply the style only when a rule is met, feed the Style node’s trigger from a condition node (or dynamic conditions for several cases). The style applies only when data flows through the trigger – for example, highlight a price only when it’s over a threshold.
📷 Screenshot [NEU]: the Style node’s trigger fed from a condition node
Tables work through the Table central node, which gives you two levels:
Combine either with a trigger (Step 3) to style conditionally – for example, turn a stock cell red only when the value is below zero.
📷 Screenshot [NEU]: a data node on a table placeholder, with a Style node on its style socket
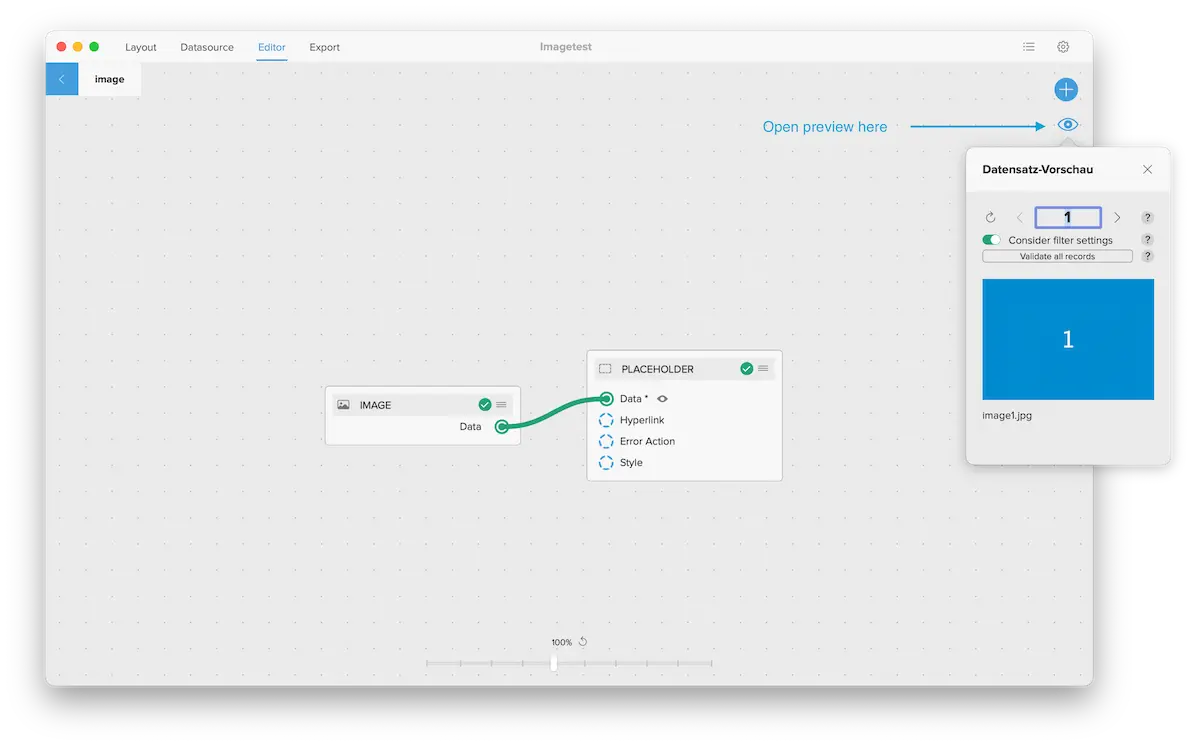
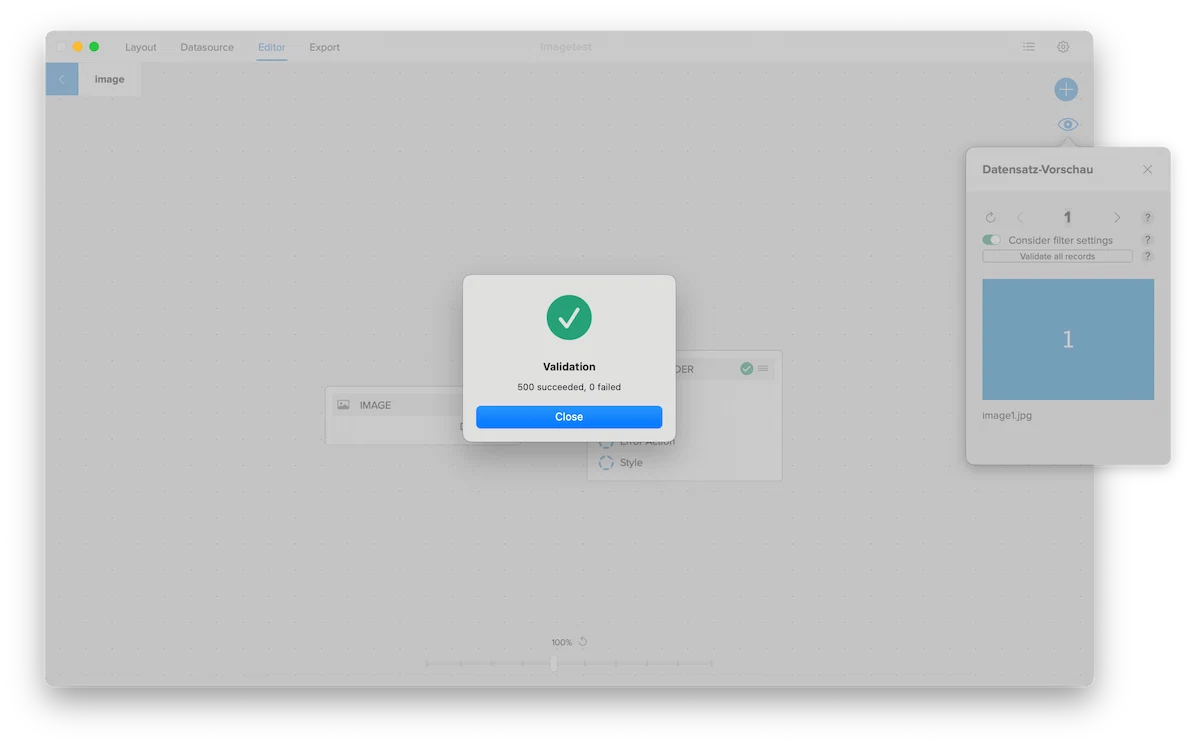
Open the Preview (the eye icon, top right) to check the result, then click Validate all records (the button in the bottom-right corner of the workspace) to check the styling responds correctly.
Styling that responds to your data – the right emphasis on the right records, automatically.